
How to Measure Your Wall for a Custom Media Unit (Step-by-Step)
A measuring guide good enough to ground-truth a designer's site visit. Tools, sequence, what to record, and the four mistakes that delay 40% of projects.
by Walora Design TeamUpdated 10 min read
A good measure happens once, takes 20 minutes, and prevents 40 percent of project delays. A bad measure causes design revisions, fitting issues, and the kind of two-week deadline slip that makes you reschedule guests. This is how to get it right.
What you actually need
The tools list is short:
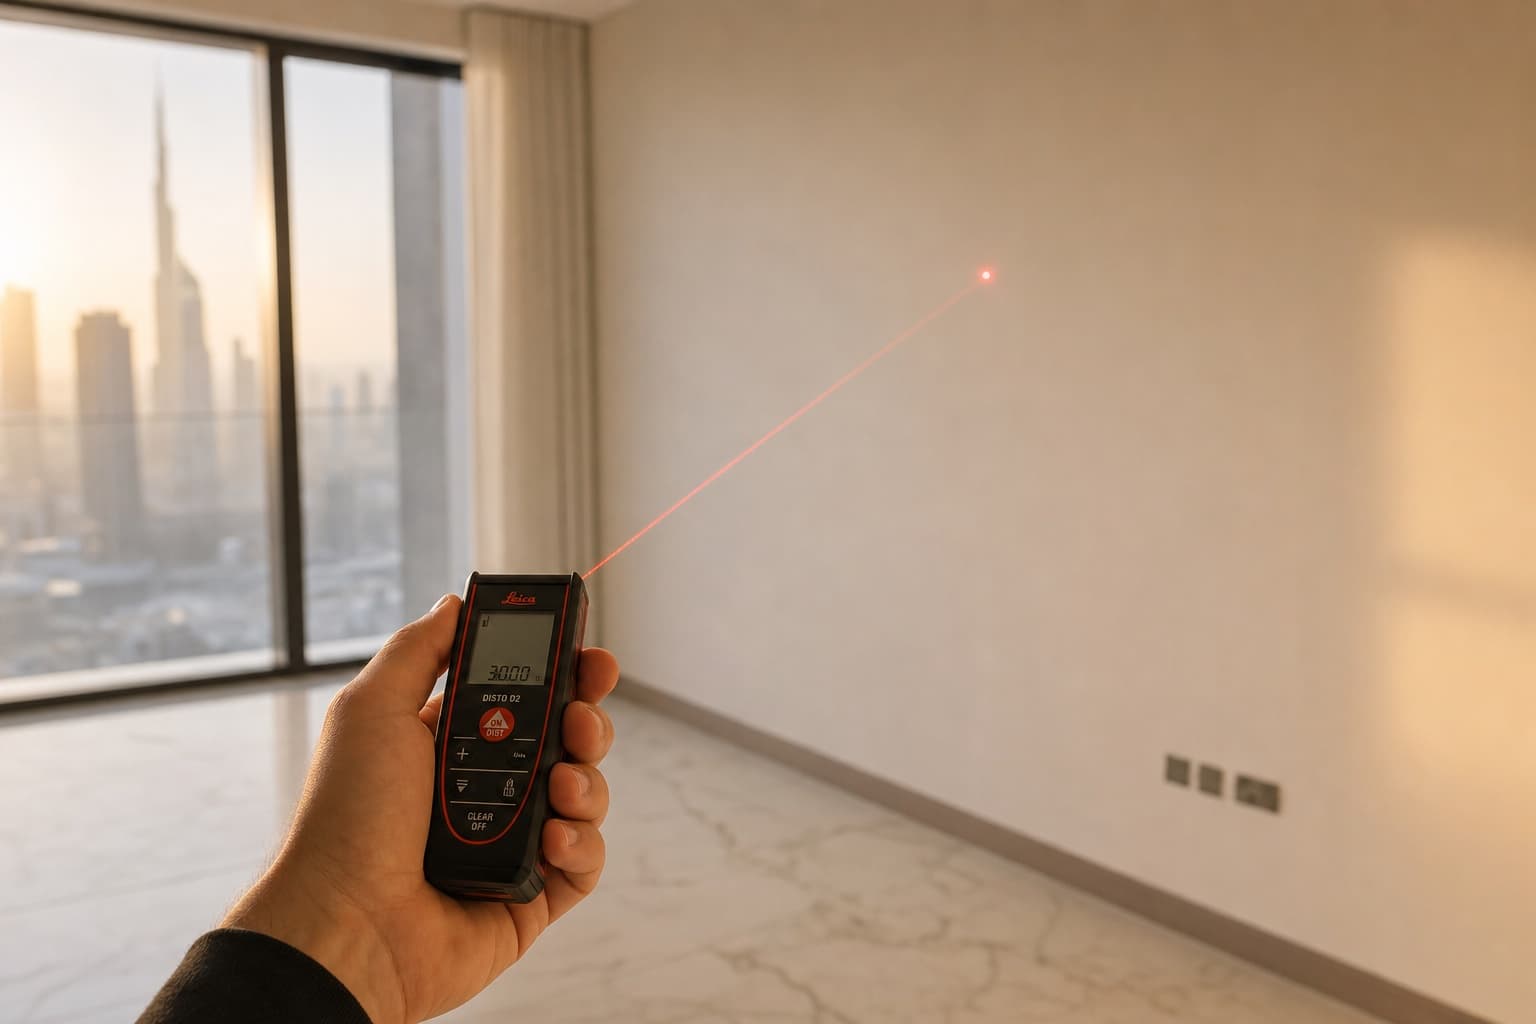
- A laser distance meter (about AED 80–150 from any hardware shop, far more reliable than tape for vertical measurements)
- A 5m tape measure as backup
- A spirit level, ideally 600mm or longer
- A pencil
- A roll of masking tape
- A notepad or your phone
Total cost if you don't already own these: roughly AED 200. Most apartments will eventually have a use for all of them.
 Architect's tracing paper showing labelled wall measurements next to a Leica DISTO laser distance meter.
Step 1 — Width, at three heights
UAE apartments are not built to furniture-level tolerances. A wall that looks straight to the eye can vary by 10–25mm across its width depending on plaster thickness, structural settlement, and how square the original construction was.
Measure the width at:
- Ankle height — about 50mm above the top of the skirting board. This is where the cabinet base sits.
- Mid height — about 1200mm above the floor. This is where the TV usually sits.
- Ceiling height — about 50mm below the ceiling. This is where the top of the wall meets.
Record all three. If they vary by more than 5mm, the wall is not square — the designer will need to know.
Step 2 — Height, at three positions
Floor-to-ceiling at:
- Left end of the planned wall
- Centre of the wall
- Right end of the wall
Walls in apartments more than a few years old commonly vary by 5–15mm in floor-to-ceiling height across a 3-metre span. Brand-new apartments are usually better but not always — settlement happens fast in some of the newer high-rises.
If your apartment has a ceiling drop or bulkhead in the living area (almost all do), measure the underside of the drop to the floor at the same three positions. This is the practical ceiling height for the media wall.
Step 3 — Services and obstacles
The wall is rarely empty. Document every:
- AC vent — position from each end and the floor; airflow direction.
- Light switch — exact centre point, switch dimensions, gang count.
- Socket — same as switches.
- TV antenna / internet point — exact position, type (RJ45, HDMI, F-connector).
- Structural beam or column — depth of projection, position from each end.
- Curtain track or rail above the wall — distance from ceiling, depth of projection.
- Door swing into the wall zone — measure the door's swept arc.
- Skirting board — height and depth (how far it stands proud of the wall).
The single most common project delay is discovering one of these at install time. Most are easy to design around if known up-front; most are difficult to design around afterwards.
Step 4 — The photographs
A series of photos that let the designer ground-truth your numbers:
- Wide shot — the entire wall from across the room, including the floor and ceiling.
- Mid shot — wall at conversation distance, showing surface finish and any marks.
- Left corner — close-up of where the planned wall meets the perpendicular wall.
- Right corner — same on the other end.
- Floor detail — skirting close-up, including any visible flooring transition.
- Ceiling detail — including any drop, light fitting, or AC integration.
- Services detail — close-ups of switches, sockets, AC vent.
Take the photos with a tape measure laid across the wall for scale. Modern designers can pull approximate dimensions from photographs when the scale reference is included, which catches inconsistencies in your written measurements before they cause problems.
Step 5 — Brief the supplier
A useful briefing email to the supplier includes:
- All measurements (width × 3, height × 3, every service)
- All photos
- AC airflow direction in summer (cool air blows toward / away from the wall?)
- Sunlight hours on the wall (direct sun morning / afternoon / not at all?)
- TV size, brand, and model (if known)
- Soundbar or AV equipment to integrate
- Storage needs (open shelves, closed cabinets, drawers — and what goes in them)
- Lifestyle context (who lives here, kids, pets, daily routines)
The supplier's response to this brief tells you a lot about how they work. A premium supplier will ask follow-up questions and schedule a site visit. A weaker supplier will send you a 3D render immediately without seeing the room.
The four mistakes that delay 40 percent of projects
In rough order of frequency:
-
Forgetting the floor isn't flat. A media wall built to assumed flat-floor dimensions can have a 10–15mm gap at one end. The fix on-site is either to scribe the base (additional work) or to add a filler trim (visible). Better to know up front.
-
Missing an AC vent or duct route. Walls that block AC vents create cold spots that damage veneer over time. Walls that ignore duct access prevent maintenance.
-
Ignoring door swings. A door that swings 100mm into the media-wall zone forces a 100mm setback that breaks the wall's clean line. Either accept the setback, or have the door rehung to swing the other way before fabrication starts.
-
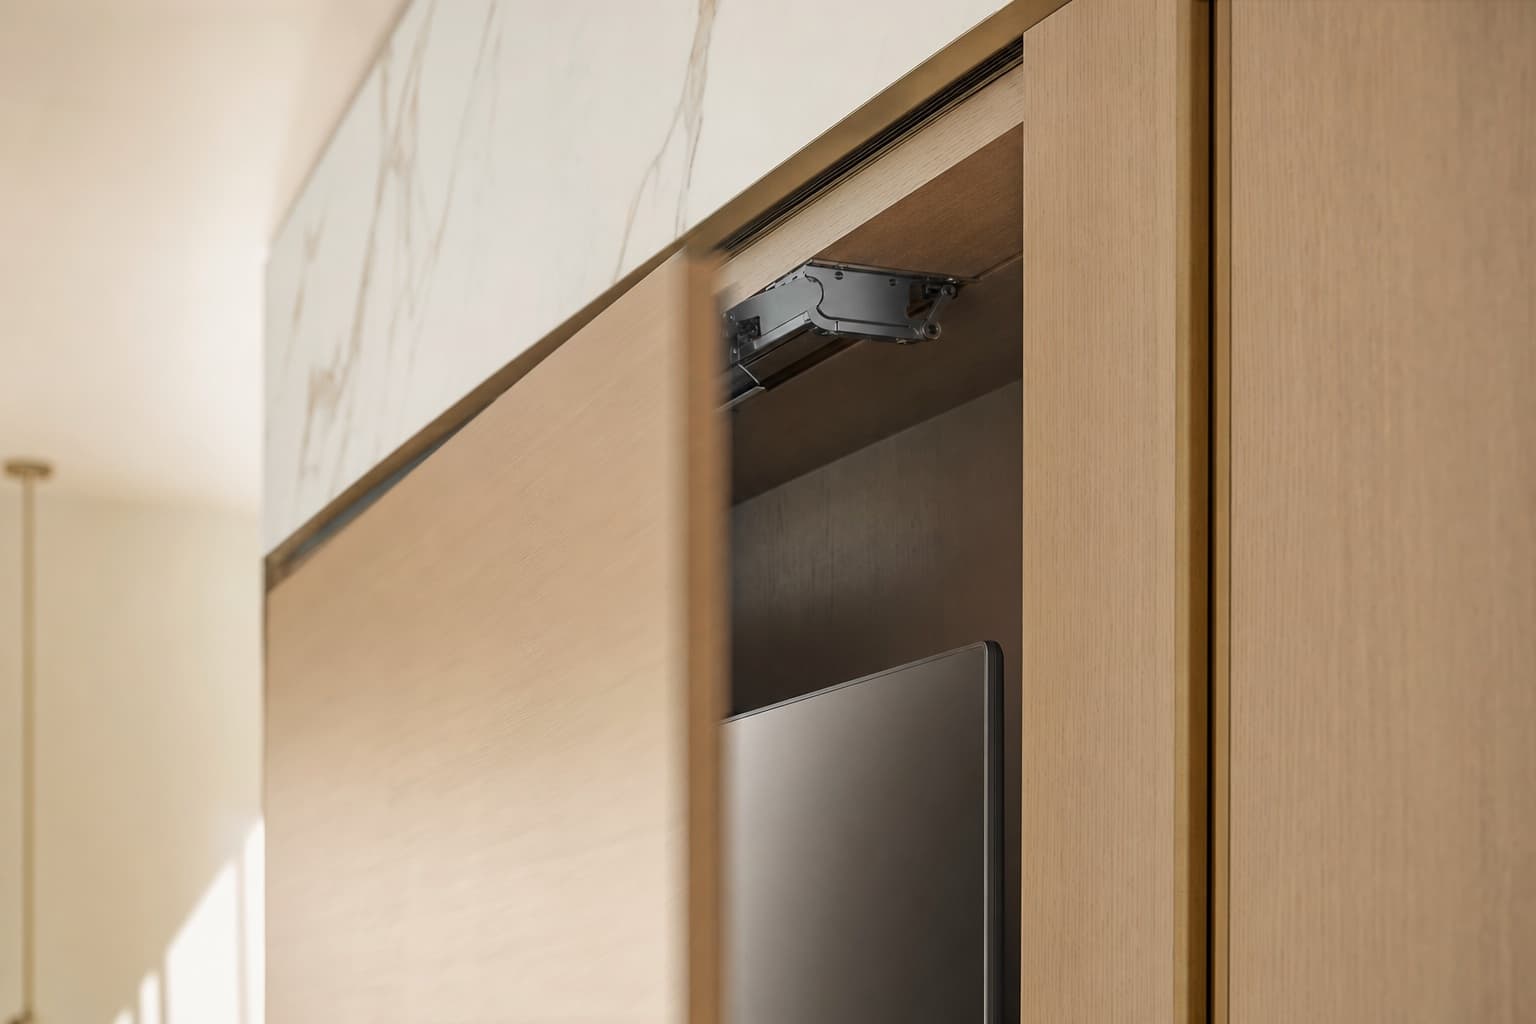
Not accounting for the TV's mounted depth. A TV mounted on a bracket sits 40–80mm proud of the wall. Cabinets and shelves either side need to accommodate this depth. Many DIY designs are sketched at zero TV depth and look wrong when the TV goes on.
A note on apartment renovations
If you're renovating the room around the media wall — new flooring, repainted walls, replaced ceiling — measure twice: once for the planned design, once as a contingency.
In particular, if the floor is being replaced after the media wall is designed, confirm the new floor's thickness. A 5mm difference between assumed and actual floor thickness shifts every cabinet dimension by 5mm. Premium suppliers ask about this; budget suppliers don't.
What good measurement enables
A premium media wall that fits its wall as if grown there comes from:
- Accurate dimensions at multiple points
- Honest documentation of services and obstacles
- Photos that confirm the dimensions
- A site visit by the supplier before final approval
These four together prevent essentially all the dimensional problems that plague this category. Skipping any of them creates the small visible flaws — the 10mm gap at the ceiling, the door that catches the cabinet edge, the AC vent now half-blocked — that mark a piece as "fitted around what was there" rather than "designed for it."
Frequently asked questions
About the author
The Walora Design Team has been crafting custom media walls for UAE homes since 2024 — every piece built to order in our Dubai workshop from real natural stone, premium stained wood veneers and bin-matched LED.
Related reading
Planning Your Space10 min read
TV Sizing Guide: Matching a 65, 75, or 85-Inch Screen to Your Wall
Viewing distance, wall proportions, and the SMPTE / THX guidelines applied to UAE apartment dimensions. How to choose a screen that looks right against the wall and from the sofa.
Planning Your Space9 min read
Soundbar Integration in Custom Media Walls: The Right Way
Three integration approaches: dedicated shelf, recessed flush, or invisible-grille. How to choose, what each costs, and which soundbars work best in each.
Planning Your Space11 min read
How to Hide a TV in a Media Wall Without Compromising the Picture
Disappearing screens, art-mode displays, hidden compartments, sliding panels — the four ways to remove the TV from view, and what each one trades off.